Spring Cleaning After Renovation
May 12, 2020
Tips To Do Proper Office Reinstatement
July 14, 2020How to Install Stone Tile Flooring

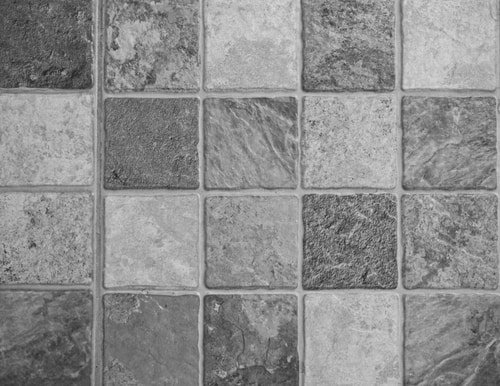
How to Install Stone Tile Flooring? Stone tiles look beautiful for every home. Tiles like these are popular because they add natural beauty to a room. They also improve the overall aesthetics of a place. Stone tiles can come with a wide range of styles, colors, and finishes.
Manufacturers of tiles use marble, granite, slate, limestone, or even travertine for great texture and design. They can also have their edges roughed or polished.
Table of Contents
Easy ways to install your own stone flooring
When you are installing stone tiles, you need to have some prior knowledge about their installation. This is because they install quite differently then porcelain or ceramic tiles. You also need to be aware of the natural variations present in the tiles.
The tiles can vary in their thickness and have fissures in them also. To ensure you are laying the stones in a proper manner, you require a good layout and a solid foundation. Laying tiles might seem a task for experienced workers.
However, with the effective strategies listed below, you can master the art of stone tile flooring like a professional. Read on to find out more.
How to Install Stone Tile Flooring – Things you will need

- A measuring tape
- A drill which has an attachment for a screwdriver
- Cement backerboard
- A wet saw for tile
- Screws
- A thinset for latex additive, preferably white in color
- An utility knife
- Chalk
- Trowel
- Rubber mallet
You can find most of the above-mentioned items in your local hardware store. They are easy to purchase and will not break your pocket in doing so. You can ditch the chalk for some white marker pencils also. You can borrow few items from a friend or neighbor if you do not wish to purchase.
Step 1

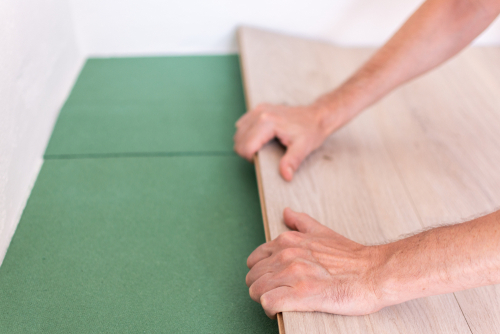
First, you should put a new underlayment on which you will be installing the stone tiles. Then proceed to layout the cement backer board on the floor where you wish to install the tiles. Then take a utility knife and start scoring the pieces. Make sure you snap them alongside the scoring lines. Every 6 inches onwards, screw them properly for securing them.
Step 2
Next comes marking the pattern to layout the stone tiles. Find a point on the center of the floor which is furthest from your door. Mark a line with chalk from this point to the room’s center. Measure the width of the tiles. Use your tape to repeat the exact process, keeping the exact width between each line.
Step 3
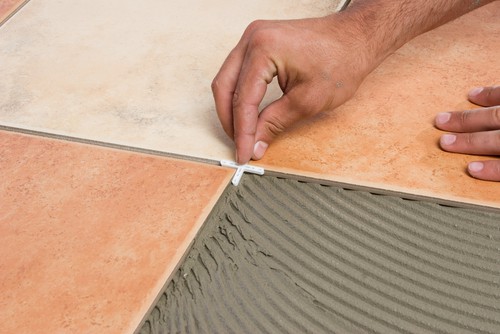
Once you have your grid ready, start to lay out your tiles on the area you wish to install them. Proceed to set the very first tile on the line of center. Then set the other tiles along the previous one’s margin.
You should keep in mind the color and size of the tiles when you are placing them. You can also move them around to match the color of the previous one. This creates a blend that is pleasing to the eye.
Step 4
If the edges of the room do not fit the remaining tiles, you can cut them with a wet saw. For the edges, you can use the tiles which have color issues in them or have fissures. This ensures any defective ones do not fall in the center of attention in the room.
Step 5
Proceed to apply the thinset mortar on the backerboard before installing the tiles. The mortar can be spread using the trowel’s flat edge. You can use extra mortar on the back of every tile before you press then down on the floor. The mortar can compensate for thin tiles and make them appear fuller.
Step 6
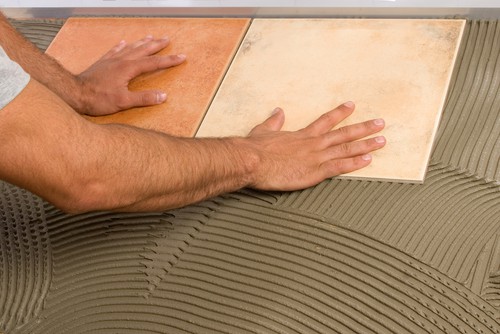
Use a rubber mallet and beat the tiles until they settle down on the floor along with the mortar. Let it sit to dry for at least 24 hours.
Step 7
You can now seal the stones for grouting. Use a foam brush to pain the sealer on the tiles and let it sit for 10 minutes. Then use the grout with a float and direct it in the joints. Let the grout also dry for 10 minutes.
Step 8
Use a sponge and warm water to clean the surface of the tiles. Ensure all the tiles are clean and then let them dry for another 24 hours. Your stone floor is ready now to use.